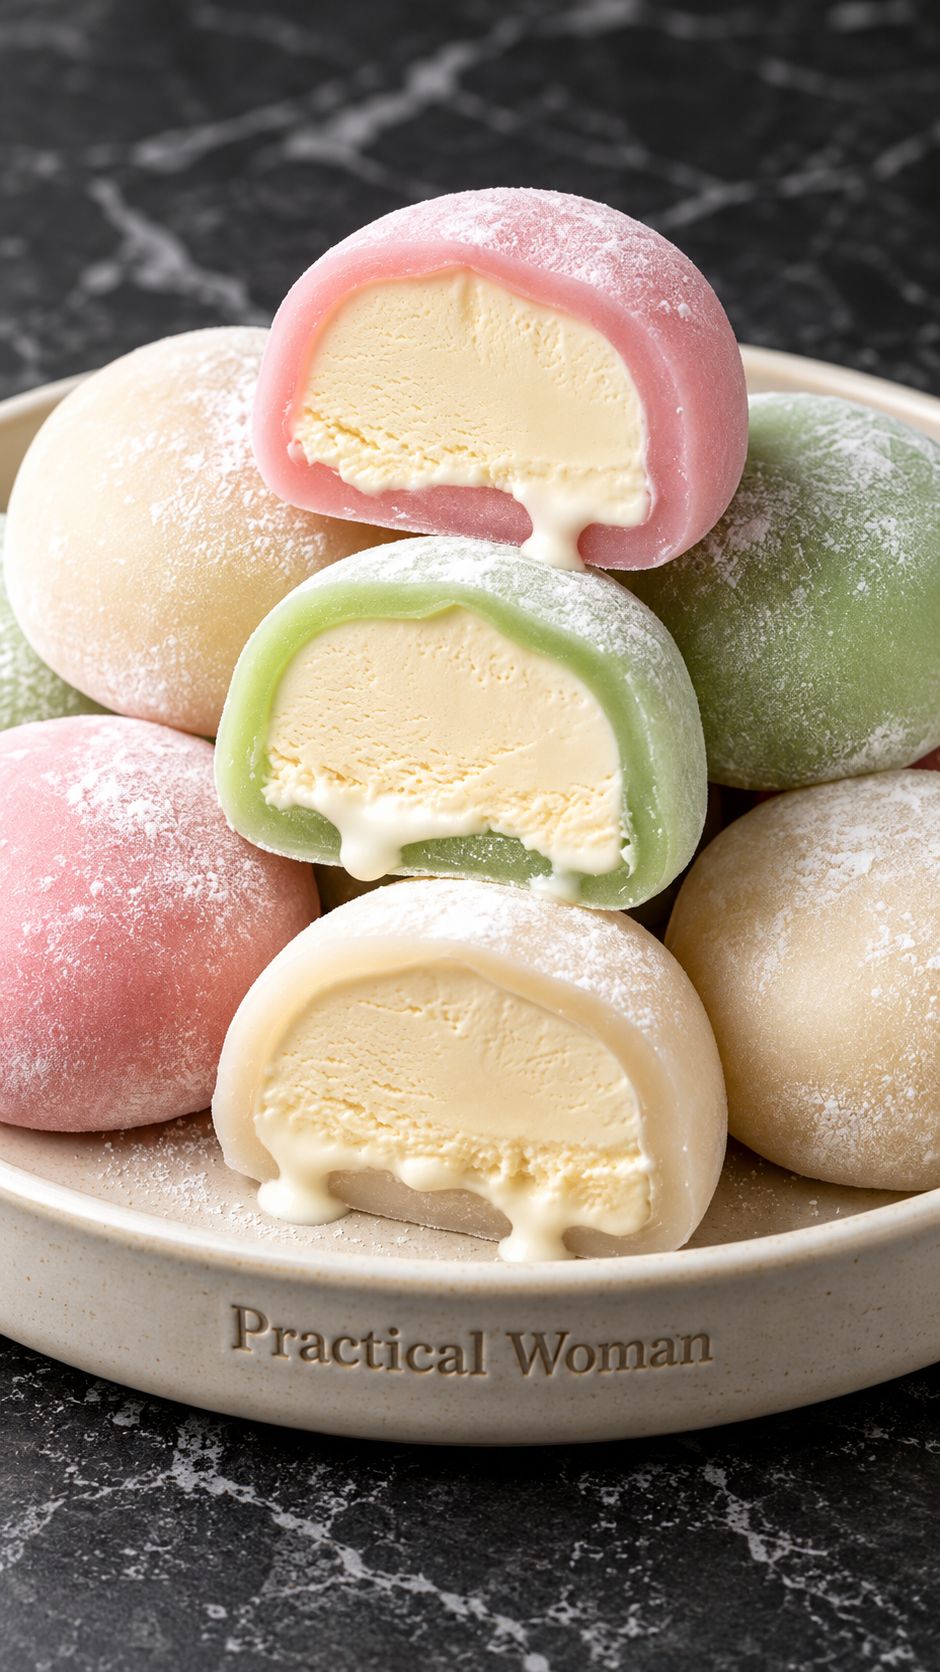
A soft, gently chewy rice wrapper surrounds a cool vanilla ice cream center. The lightly sweet exterior and creamy filling create a delicate contrast as each frozen piece softens for serving.
- Yield
- 10 pieces
- Prep time
- 30 minutes
Ingredients
- 130 g glutinous rice flour, such as mochiko or shiratamako
- 50 g superfine sugar
- 2 tablespoons powdered sugar
- 240 ml water
- Food coloring, optional
- Cornstarch or potato starch, for dusting
- About 1 cup vanilla ice cream, enough for 10 small scoops
Method
- Line a small tray with parchment paper. Scoop the ice cream into 10 compact balls, approximately 1 heaping tablespoon each. Freeze for at least 1 hour, or until completely firm.
- Whisk the glutinous rice flour, superfine sugar, powdered sugar, and water together in a microwave-safe bowl until smooth. Add a small amount of food coloring if desired.
- Cover loosely with a microwave-safe cover. Microwave on HIGH for 1 minute, then carefully uncover and stir thoroughly with a sturdy spatula.
- Cover loosely and microwave for another minute. Stir again, then microwave for 30–60 seconds more, until the dough is thick, sticky, and slightly translucent, with no liquid batter remaining. Microwave power varies, so adjust as needed.
- Generously dust a sheet of parchment with cornstarch or potato starch. Carefully turn the hot dough onto it and dust the top. The dough will be very hot; avoid handling it directly.
- Once safe to work with, roll the dough approximately ⅛–³⁄₁₆ inch (3–5 mm) thick. Let cool completely, then cut into 10 rounds approximately 3–3½ inches (8–9 cm) wide. Gently reroll cooled scraps as needed.
- Brush excess starch from each round, especially around the edges that will be sealed. Keep the rounds loosely covered to prevent drying.
- Remove only one or two ice cream balls from the freezer at a time. Place a ball in the center of a cooled dough round, bring the edges around it, and pinch firmly to seal without tearing.
- Place seam-side down in a paper cupcake liner or on a parchment-lined tray. Return each finished piece to the freezer promptly.
- Freeze for at least 1 hour, until firm. Let stand at room temperature for 2–3 minutes before serving, adjusting briefly as needed until the wrapper is pleasantly chewy.
Kitchen notes
Timing guide:
Freeze time: At least 1 hour before wrapping, plus at least 1 hour afterward
Prep time: About 30 minutes
Cook time: 2½–3 minutes in the microwave
Cool time: Until the dough is completely cool
Practical Woman's Secret
Keep the ice cream frozen solid and the wrappers completely cool. Brush starch away from the sealing edges so they adhere, and make the seam compact rather than gathering a thick lump of dough underneath.
Serving and Storage
Serve in small batches, allowing the wrappers to soften slightly while the centers remain frozen. Store in an airtight freezer container with parchment between pieces for up to 2 weeks for best texture. Do not refrigerate as a substitute for freezing, and avoid repeatedly thawing and refreezing.
Nutrition information
| Calories | 110 kcal |
|---|---|
| Protein | 1 g |
| Carbohydrate | 23 g |
| Total fat | 2 g |
| Fiber | 0 g |
| Sugars | 11 g |
| Sodium | 15 mg |
Nutrition information is an estimate for the serving size stated above. Actual values may vary depending on ingredients, brands, preparation methods, and portion sizes.
Related recipes
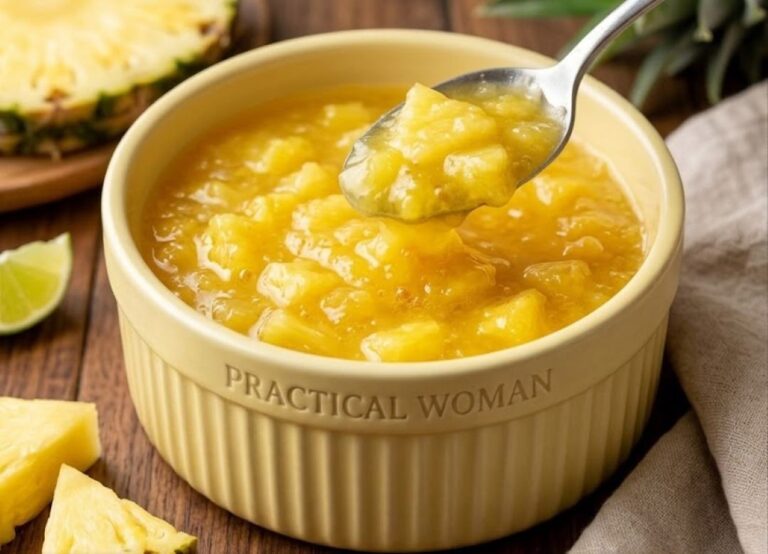
Pineapple Dessert Sauce
Sweet, tropical pineapple sauce with a bright citrus finish and a lightly thickened, glossy texture. Delicious over ice cream, cheesecake, pancakes, or…
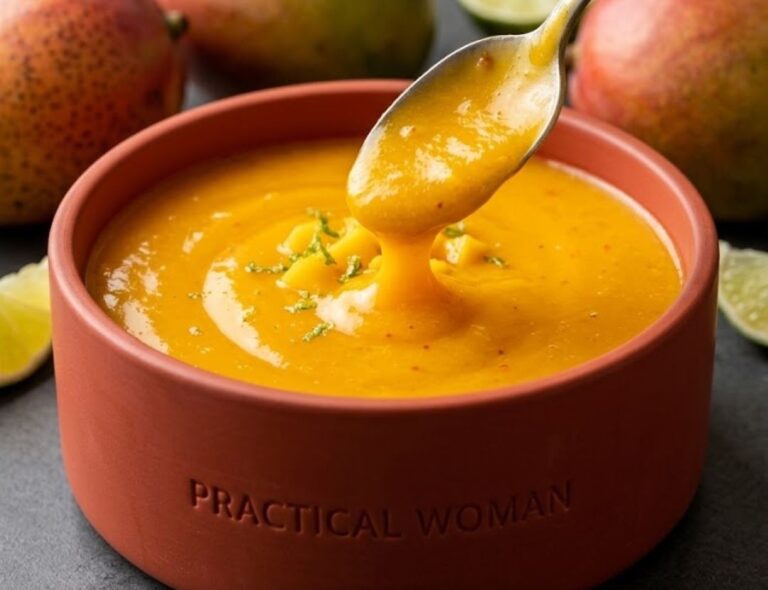
Mango Dessert Sauce
Smooth, vibrant mango sauce bursting with natural tropical sweetness and a refreshing hint of lime. This silky, golden sauce is perfect for…
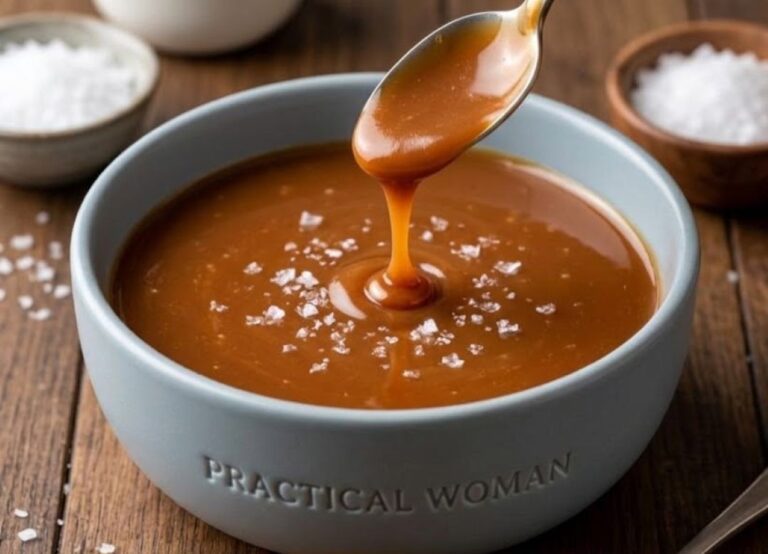
Salted Caramel Sauce
Rich, buttery caramel with a silky texture and the perfect balance of sweetness and sea salt. This homemade sauce is delicious drizzled…
More from Practical Woman
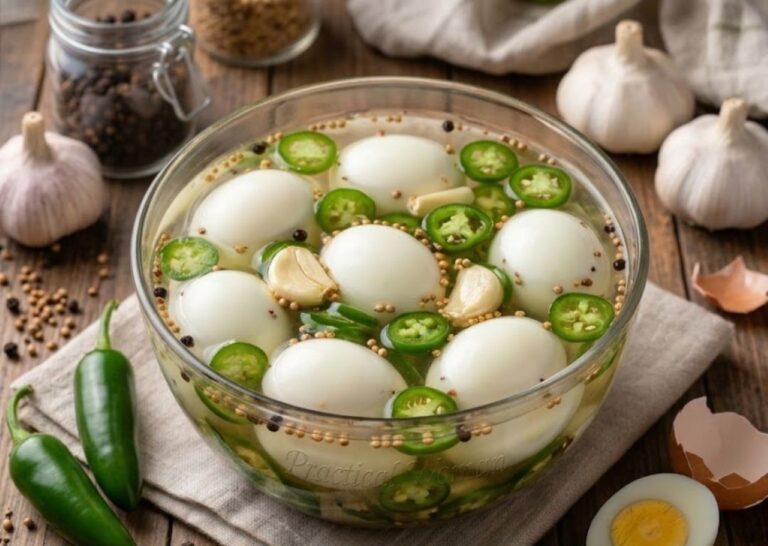
Practical Woman’s Garlic Jalapeño Pickled Eggs
Tangy, savory pickled eggs infused with fresh jalapeños, garlic, and aromatic spices. These flavorful refrigerator pickled eggs make a delicious snack or…
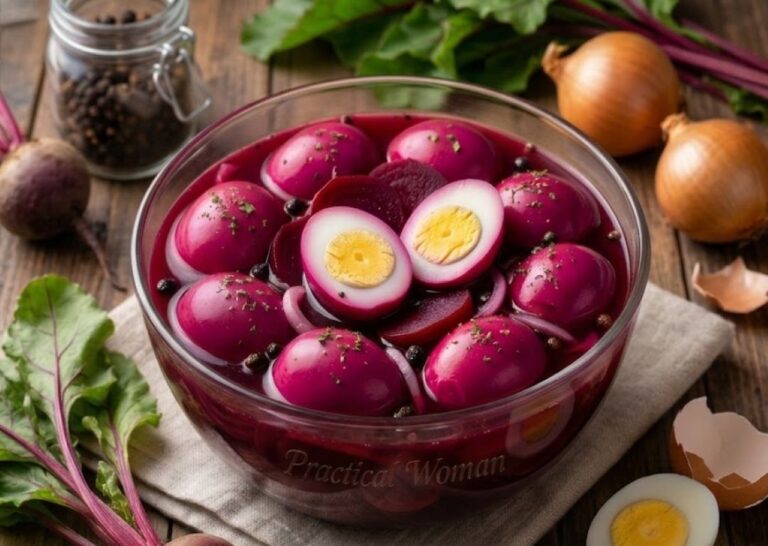
Beet Pickled Eggs
Beautifully pink pickled eggs with a tangy-sweet flavor and a hint of warm spices. These colorful, beet-infused eggs make a delicious snack,…
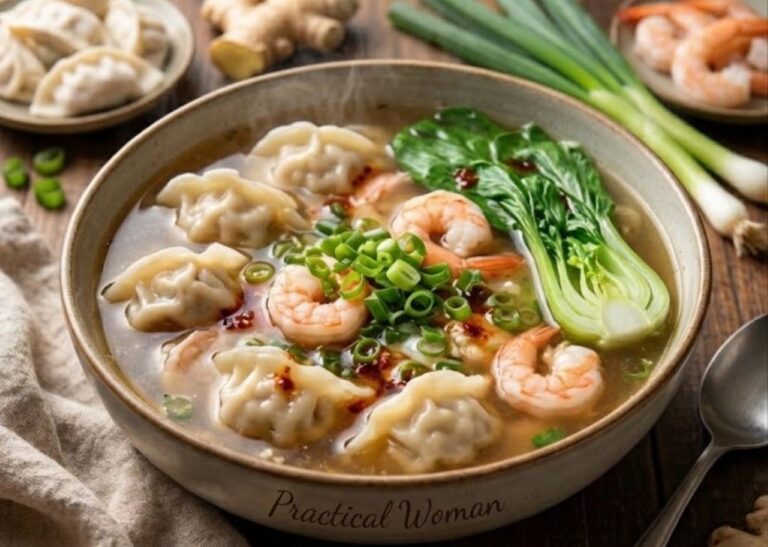
Practical Woman’s Dumpling Soup with Shrimp
Tender pork dumplings, juicy shrimp, and fresh bok choy served in a fragrant ginger-soy broth. This comforting Asian-inspired soup is savory, satisfying,…
Let’s talk about this recipe
Made it? Tell us how it turned out. Have a question or a tip to share? We’d love to hear from you.